Hopefully the compact camera handling post helps those who want the best from their equipment.
Many of these essential tips were painfully learned. It is tough to head back home to see lovely photo opportunities lost to poor exposure, bad or unplanned composition or just forgetting to turn on the video recording button
It’s has become increasingly important as high end compact cameras are replacing the SLRs for many occasions.
These compacts are getting ever so close to SLRs in terms of exposure control, image quality and features that many can’t tell the difference. Plus the plethora of ready made templates with sensors to auto select.
They are no longer just for beginners or even a supplementary to an SLR.
These genre of cameras have evolved. They carry sophisticated programming, have speciality features and more importantly can handle exposure to a high standard especially at low light. In the past one had to get specific and expenses SLR lens to get good exposure in low light.
The single biggest change for a compact has to be bundling a still camera with a video camera. It is indeed a paradigm shift.
A serious beast of a compact
I have written about my Sony ZV1 in an earlier post, a true compact and even today I am impressed by what it can deliver.
There is the articulating LCD screen which it makes many things to many people. Perfect for a vlogger and again perfect for the amateur as well as the prosumer.
With the advent of compact as a mainstay, photo editing has also improved by leaps and bounds.
Photo editing
Photo editing tools now come as free applications in phones, tablets and PCs. And they are good. As an apple user I use Apple editing apps as example but Android and other models have similar apps.
Now that one has this serious beast or similar compact, plus photo editing capabilities on one’s devices so what does one do?
Hopefully these tips will help those who acquired a compact camera and want to get as much as they can from it and enjoy the experience. Here the tips.
Holding a compact
Here is something one would or should realise the moment they have a compact in their hands.
Its size does not lend itself to easy handling even in the smallest hands. SLRs however are great for hand holding while working the camera. They are designed ergonomically to hand holding unlike the compact. So there is a gap.
After a while you begin to realise hand holding a compact is awkward. So what do you do?
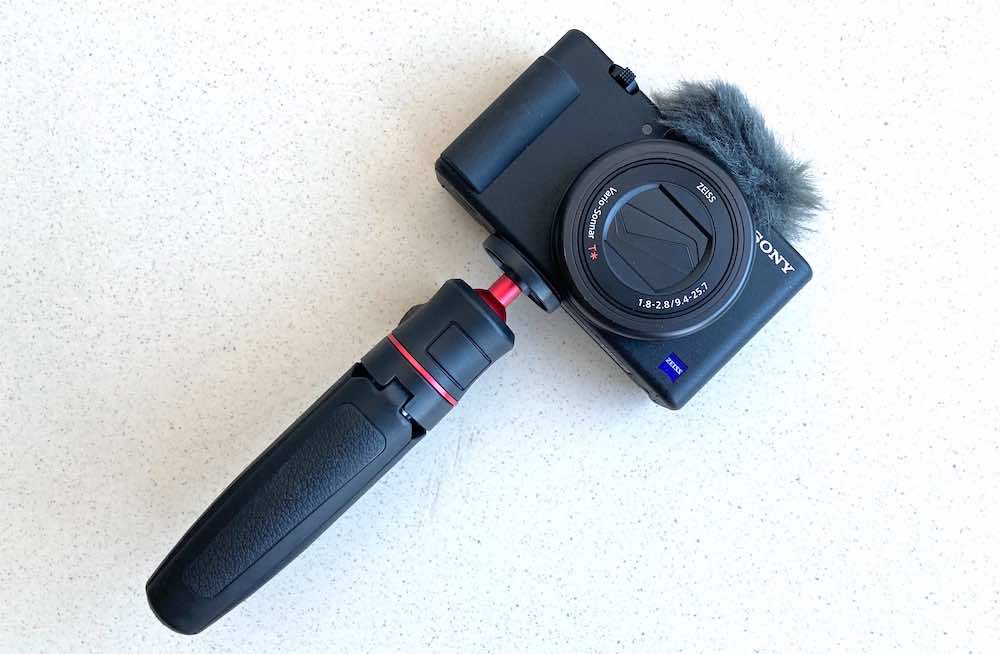
Selfie sticks and mini tripod grips
The first and important tip is get a sturdy mini tripod or selfie stick. Selfie stick meant originally for smartphone cameras, has become the accidental prop for compact cameras. In terms of old World SLRs, it is a handheld monopod.
Just one catch though. They are excellent for taking photos but videos are jumpy when panning. So either remove the grip or video pan very slowly and firmly.
Give it try. Take a series of photos with and without one. The first thing you will notice is that it provides stability when a hand grip or selfie stick is used. I also found it easier to frame shots without adjusting my grip.

The selfie stick however does come useful when extended for both videos and photos when you are behind a crowd or barrier. For photos you have to set the timer. Unless your selfie stick has trigger via bluetooth.
The fact that camera comes with an LCD screen, you no longer need to bring the camera close and use the viewfinder to frame a shot. So use the selfie stick or mini monopod while you frame your shot from a more convenient distance and manner.
By the way the Sony ZV1 also has an optional and dedicated hand held grip with functional keys. The only catch is that it is costly. But it does go to show that compact camera manufacturers have come to realise that a hand held grip helps a compact camera user.
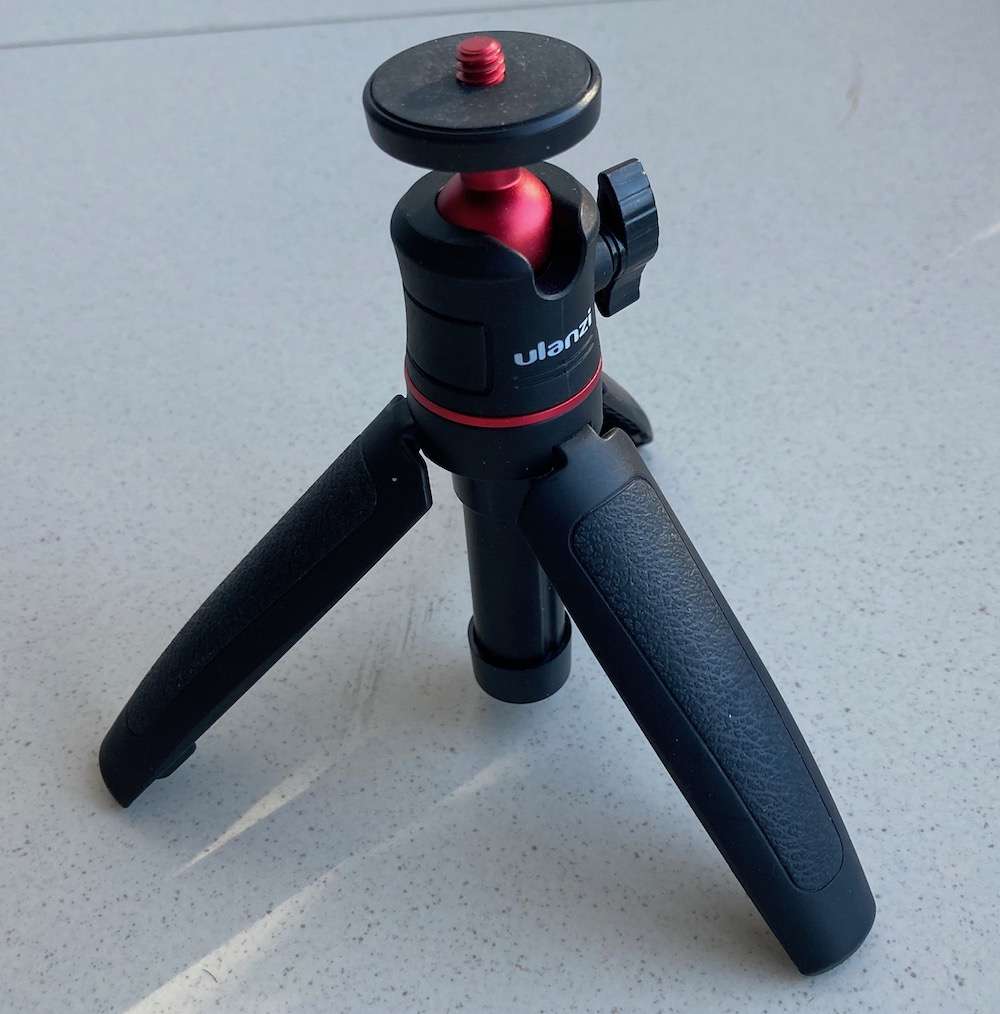
I currently use a Telsin stick that gives ample extension as well as a Ulanzi mini-tripod. Both have the right thickness for grip and to allow easy wrist movement but they serve different needs. I take both when I am on the road.
Read the manual again
Second important tip is re-familiarise yourself with the camera features and options before a trip or photo or video taking outing.
I have regretted not doing it time and again especially after a long lay-of. The end result is limiting your options.
Charge those batteries
Make sure that the original manufacturers battery is fully charged as well as those 3rd party spares when on a trip or attending an event.
We tend to get 3rd party battery spares as they are much cheaper. These batteries tend to drain over time even when they are not used. They also have limited life cycles.
I had short lived and dead batteries and they are indeed regrettable moments.
Bring along the dead cat
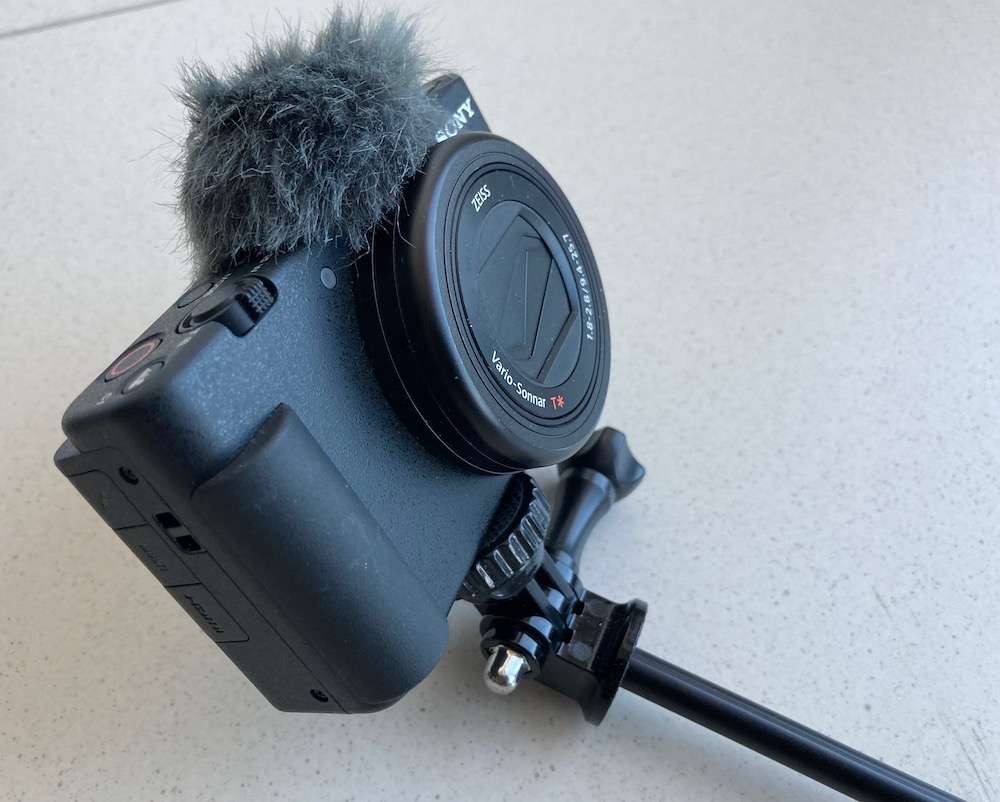
Another compact camera handling tip especially for those who are big on vlogging and videos. Forget the sound muffler and it becomes costly.
I don’t have enough fingers and toes to count the number of times I have seen YouTube videos where the content creators have apologised for poor audio.
Imagine having the luck of capturing a vibrant bazaar scene. With a kaleidoscope of colours and cacophony of sounds of people talking, animals bleating and music blaring. And the wind destroying your audio.
The wind is readily picked up by the video camera’s mic. It is such a shame when the video footage is excellent but the sound is so bad. The dead cat or muffler has no other alternative. It must be with you at all times.
No amount of editing can fix poor audio. In bad situations one will have to completely mute the actual recording or resort to voice-over or music.
Don’t make that mistake especially if it is a travel trip and you are unlikely to visit the place again.
Keep an eye on the red recording light
I have done it a few times. Thought the video recording was on but it was not. I have done it on my Sony ZV1 and as well as on DJI Osmo action.
On occasions I have accident double pressed the recording button, turning on and then off.
You will notice the missing recording light when the camera is hand held but not when I use the extended selfie stick or when the camera is placed on a mount and not hand held.
The red recording light is not easy to see as it is no longer in your line of sight. You think it is recording when it is not.
I was at an event when some of the guests are in the same circle as me. Few video clips of my friends mostly with the selfie stick extended to get the unusual view or angle. I thought that I pressed the recording button. It was not the case.
And it is not nice explaining to people that you stuffed it up. Its actually embarrassing when the people in the video take the trouble of playing or posing to your camera to make it entertaining.
Video taking tips
Work hard on this to be reasonably good at it. Do a refresher before a trip or event. Shooting a video with the camera held firmly and panning slowly gives good results.
Take short lengths of video. Unless it is a street performance, scenes of a market, street and daily life. You want to capture movements and variety. These are best done in shorts with no boring parts in between.
Maximise digital technology
Take multiple photos of the same scene. Same with videos, more clips with various angles. Especially if it is a dynamic or captivating scene.
I found it interesting that when it came to editing, the best shots were not what I thought.
Take those shots and scenes at eye level, both low and high and at different angles to get the best perspective. Videos taken at ankle level with an extended selfie stick is a rare view especially for every day street scene.
Natural expressions that are eye catching are hard to compose. There is no additional cost if you take 10 or 30 shots. More shots means more chances of getting the right shot.
Don’t forget the anchor shots
At any trip or photo opportunity, there must be anchor shots for which planning and effort in composition and subject content must be meticulously done. It may even require research prior to the trip.
These are the few shots that sets the tone and become your treasured collectibles. These are ones that make it on your wall or on social media. They are eye catching.
Remember the 2 best times of each day
Photos and even videos don’t come out well in bright sunlight. Photos especially.
The harsh sunlight creates extreme highlights and will require substantial effort in editing. And even then it does not come out naturally.
Time before and after dawn and dusk is great. The colour spectrum will be wide and excellent. Time for anchor shots as well. Soft lights are the corner stone of great photos.
Compact camera handling tips hopefully make a World of difference so keep these in mind.
Maximise the opportunity as you are seldom are going to take another travel trip or holiday to the same location.